When it comes to tiling a floor or wall, the size of the tiles plays a crucial role in the installation process. Different tile sizes require specific installation techniques to achieve the best result. This guide will explain how to install tiles of various sizes—from small mosaic tiles to large format tiles.
Step 1: Preparing the Surface
Regardless of the tile size, proper surface preparation is essential. Make sure the surface is:
Clean and dry: Sweep and vacuum the area to remove dirt, dust, or old adhesive.
Level: Use a leveling compound to correct any uneven spots on the surface. This is particularly important for large format tiles, which are more susceptible to unevenness.
Step 2: Choosing the Right Adhesive for Tile Size
Tile size affects the type of adhesive you should use. For larger tiles (like 600x600mm porcelain tiles or 600x1200mm ceramic tiles), you will need a stronger adhesive to prevent shifting during installation. Here's how different tile sizes affect adhesive choice:
Small Tiles (e.g., 300x300mm or mosaic tiles): These require less adhesive because they are lighter and easier to manage.
Medium Tiles (e.g., 600x600mm ceramic tiles): These tiles need a medium-strength adhesive. A thin-set mortar works well for these sizes.
Large Tiles (e.g., 600x1200mm porcelain tiles or large marble tiles): For large format tiles, use a high-strength thin-set mortar that can support the weight and size. Consider using a white thin-set mortar for light-colored tiles like beige porcelain tiles to avoid discoloration.
Step 3: Installing Small Tiles (300x300mm or Mosaic Tiles)
Small tiles are often used for intricate designs, bathroom backsplashes, or mosaic patterns. These tiles are easier to handle and allow for more flexibility in design.
Layout: For mosaic tiles, begin by laying them out in a pattern on the floor or wall to see how they fit.
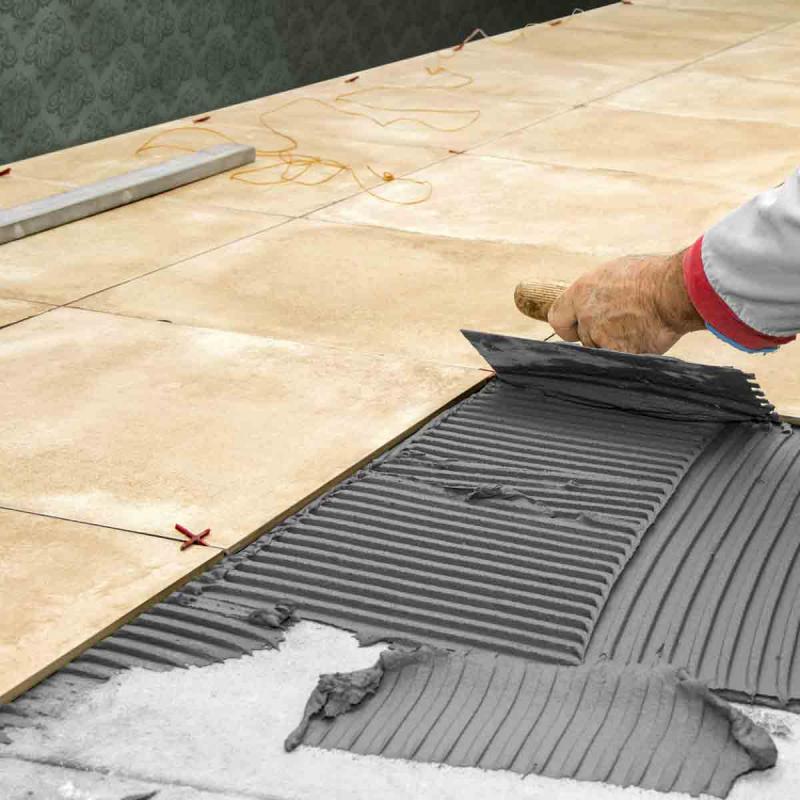
Apply adhesive: Spread a thin layer of adhesive using a notched trowel. For mosaics, a finer trowel with smaller notches works better.
Place the tiles: Press each tile gently into the adhesive, ensuring the grout lines are even and consistent.
Cutting tiles: Use tile snips or a small tile cutter for precise cuts around edges or corners.
Step 4: Installing Medium-Sized Tiles (600x600mm)
600x600mm porcelain tiles and ceramic tiles are popular for both floors and walls. These medium-sized tiles offer a balance between ease of handling and visual impact.
Layout: Start by measuring and marking the center of the room or wall. Work your way out from the center to ensure symmetrical placement.
Tile adhesive: Use a medium-notch trowel for even adhesive application. Press the tiles into place, and use spacers to maintain consistent gaps between tiles.
Leveling: Check for flatness regularly using a level, as 600x600mm tiles can be prone to slight warping.
Step 5: Installing Large Format Tiles (600x1200mm or Larger)
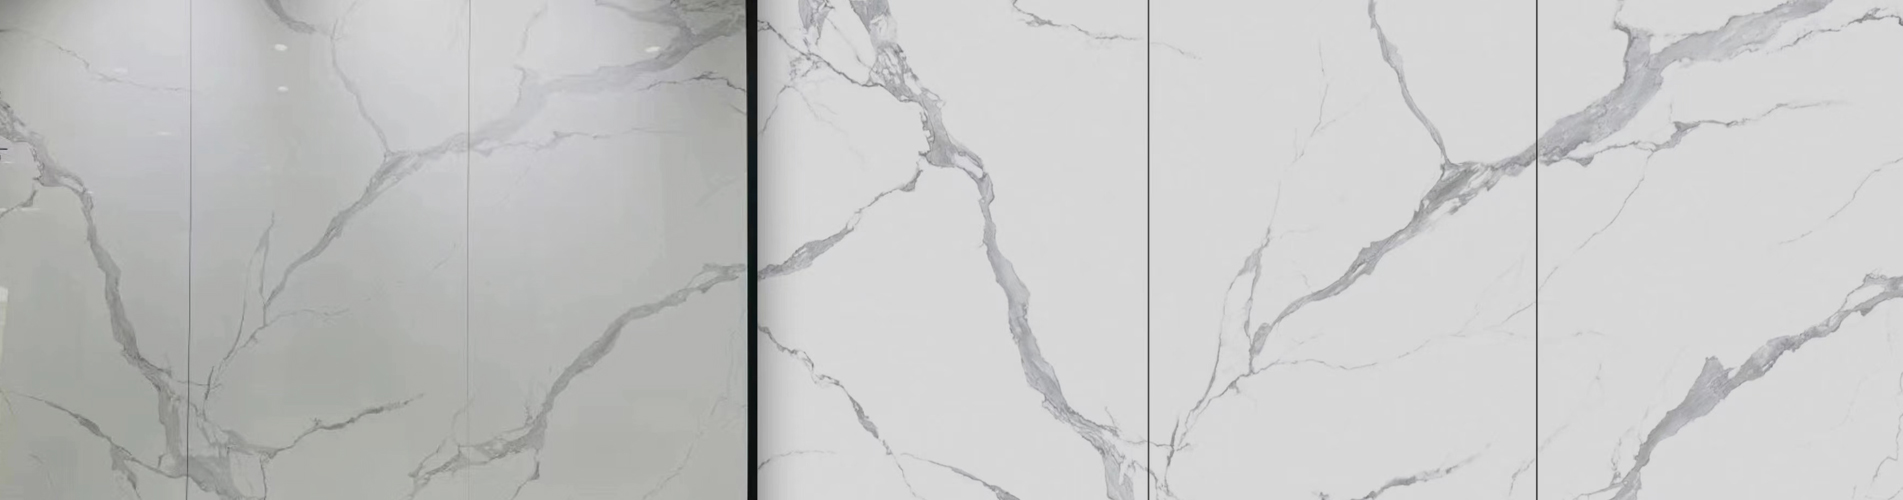
Large tiles like 600x1200mm porcelain tiles or marble tiles can create a luxurious look, but they require special handling due to their size and weight.
Surface preparation: For large tiles, make sure the surface is perfectly level, as even the slightest unevenness will show.
Adhesive application: Use a large, notched trowel to apply adhesive in even layers, and ensure the adhesive bed is thick enough to support the tile. Some installers also use a "back buttering" technique where adhesive is applied to both the surface and the back of the tile.
Tile placement: Due to their size, large tiles are heavy, so consider having a partner to help position them. Carefully press each tile into the adhesive and adjust as needed.
Cutting large tiles: Use a wet saw or a diamond blade cutter for precise cuts, especially around edges and corners.
Step 6: Grouting the Tiles
Once the adhesive has set (typically 24 hours), you can grout the tiles. Here are some considerations based on tile size:
Small tiles: Grout is applied into the small joints between the tiles using a rubber float. Wipe away excess grout with a damp sponge.
Medium and large tiles: Use a larger float for applying grout into the wider gaps between medium-sized or large tiles. Ensure the grout is pressed into the joints to prevent any voids.
Step 7: Sealing the Tiles
Certain types of tiles, like marble tiles or porous ceramic tiles, may require sealing to prevent staining or moisture absorption.
Apply a sealant: Once the grout has fully cured (24–48 hours), apply a tile and grout sealer to protect the surface. This is especially important for porous materials like marble or terracotta.
Clean the tiles: Wipe down the surface with a clean, dry cloth to remove any remaining haze or residue.
Conclusion
The installation process can vary depending on the size and type of tile you’re using. For smaller tiles, the process is relatively straightforward, while larger tiles require more careful attention to surface preparation, adhesive, and leveling. Whether you're working with ceramic tiles, porcelain tiles, or luxurious marble tiles, following the correct installation steps will ensure a professional and long-lasting result.
 How to Install Tiles: A Comprehensive Guide


 IPv6 network supported